How to Clean Stove Knobs in 5 Ways
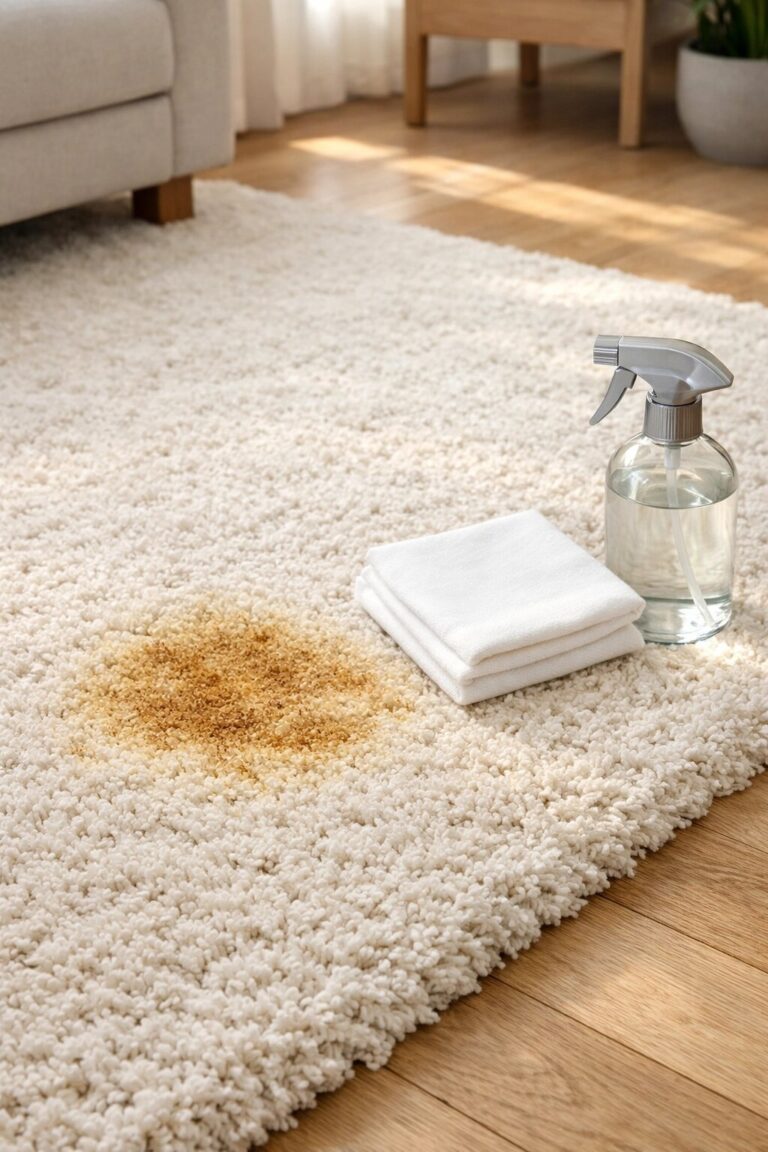
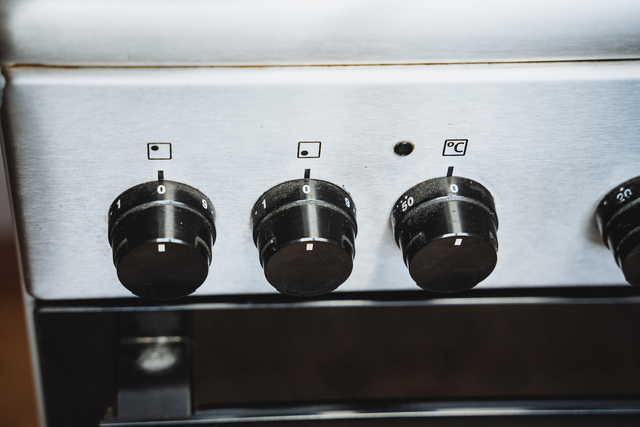
Stove knobs collect grease, food residue, and buildup faster than most kitchen surfaces. Because they sit close to burners and get handled frequently, cleaning them requires some care around both heat exposure and material compatibility. The method you use to clean stove knobs depends on the knob material, how much buildup is present, and whether the knobs are removable.
Most stove knobs are made from plastic, rubber-coated plastic, or occasionally metal. Each material responds differently to soaking times, heat, and cleaning agents. What works well on a hard plastic knob may cause discoloration or warping on a softer rubberized surface.
The five methods below cover warm soapy water soaking, dish soap scrubbing, hydrogen peroxide solution, dishwasher cleaning, and isopropyl alcohol treatment. Each includes when it applies, what you need, and step-by-step instructions.
Tools and Materials
Tools
- Small bowl or basin
- Soft-bristle toothbrush
- Stiff-bristle scrub brush
- Microfiber cloths
- Toothpick or wooden skewer
- Dish rack or drying surface
Materials
- Dish soap (degreasing formula)
- 3% hydrogen peroxide
- 70% isopropyl alcohol
- Warm water
Optional
- Dishwasher (top-rack safe knobs only)
- Cotton rounds
- Toothpick or skewer (for grooves)
How to Clean Stove Knobs: 5 Methods
Each method addresses a different level of buildup or knob condition. Start by removing the knobs from the stove — most pull straight off the shaft with light pressure. If yours don’t remove easily, check your appliance manual before forcing them.
Never submerge or clean knobs while they are still attached to the stove.
Method 1: Warm Soapy Water Soak (Light Buildup)
This method works well for routine maintenance or light grease with no stubborn residue. It’s the least abrasive option and suitable for most plastic and rubber-coated knobs.
You will need:
- Dish soap
- Warm water
- Small bowl
- Soft-bristle toothbrush
- Microfiber cloth
Steps:
- Pull knobs off the stove and set burner controls to the off position.
- Fill a small bowl with warm — not hot — water and a few drops of dish soap.
- Place knobs in the bowl and let them soak for 15–20 minutes.
- Use a soft toothbrush to scrub around ridges, indentations, and indicator markings.
- Rinse each knob under warm running water.
- Dry thoroughly with a microfiber cloth before reinstalling.
If residue remains after soaking, repeat the soak for another 10 minutes before scrubbing again.
Method 2: Dish Soap + Scrub Brush (Heavy Grease and Textured Surfaces)
This method suits knobs with heavier grease deposits or raised ridges that need mechanical scrubbing rather than soaking alone. It works on most hard plastic knobs and is a step up from the basic soapy water soak in Method 1.
You will need:
- Dish soap (degreasing formula)
- Warm water
- Stiff-bristle scrub brush or old toothbrush
- Microfiber cloth
- Small bowl
Steps:
- Remove all knobs from the stove.
- Fill a small bowl with warm water and a generous amount of dish soap — more than you’d use for light soaking.
- Dip the scrub brush directly into the soapy water.
- Scrub each knob firmly, working the bristles into grooves, ridges, and indicator markings.
- Re-dip the brush frequently to keep soap concentration high.
- Rinse each knob thoroughly under warm running water.
- Dry completely with a microfiber cloth before reinstalling.
If grease feels tacky after the first scrub, apply a small drop of dish soap directly onto the brush and scrub again without rinsing first.
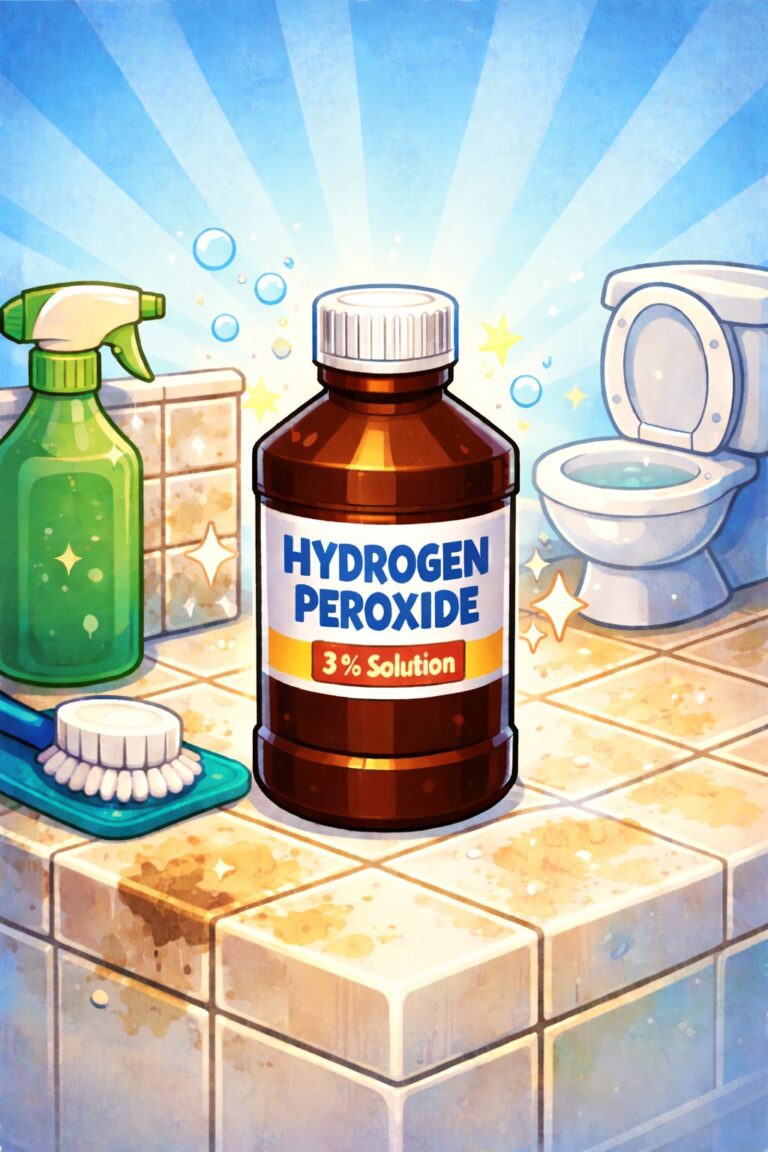
Method 3: Dish Soap and Hydrogen Peroxide Solution (Discoloration and Embedded Grime)
This method is suited to knobs with visible discoloration, yellowing, or grime that has worked into the surface over time. Hydrogen peroxide has mild oxidizing properties that can help lift staining on hard plastic. Results vary depending on how deeply discoloration has set.
You will need:
- 3% hydrogen peroxide (standard pharmacy concentration)
- Dish soap
- Small bowl
- Soft-bristle toothbrush
- Microfiber cloth
Steps:
- Remove knobs from the stove and work in a ventilated area.
- Mix 1/4 cup of 3% hydrogen peroxide with a few drops of dish soap in a small bowl.
- Submerge knobs in the solution and let them soak for 15–20 minutes.
- Scrub each knob with a soft toothbrush, focusing on discolored areas and grooves.
- Rinse thoroughly under warm water.
- Dry completely with a microfiber cloth before reinstalling.
Do not use hydrogen peroxide on rubberized or soft-grip coatings. It may cause surface softening or uneven discoloration on those materials.
Method 4: Dishwasher Cleaning (Confirmed Dishwasher-Safe Knobs Only)
Some stove knobs are dishwasher-safe, though this varies significantly by brand and model. This method reduces hands-on scrubbing and handles moderate buildup reasonably well.
Confirm with your appliance manual that knobs are dishwasher-safe before using this method. Many are not, and heat or detergent can cause warping or fading.
You will need:
- Dishwasher
- Regular dishwasher detergent
- Top rack placement
Steps:
- Remove all knobs from the stove.
- Verify dishwasher compatibility in your appliance manual or manufacturer’s website.
- Place knobs on the top rack, securing them so they don’t flip during the cycle.
- Run a normal cycle — avoid heated dry settings, which can warp plastic.
- Allow knobs to air dry completely before reinstalling.
- Inspect indicator markings after washing — heavy cycles occasionally fade printed graphics over time.
If the manual is unavailable, skip this method and use soapy water or the scrub brush method instead.
Method 5: Isopropyl Alcohol (Sticky Residue and Surface Grime)
Isopropyl alcohol (70% concentration) is useful for breaking down sticky residue, adhesive deposits, or surface grime that doesn’t respond to water-based cleaning. It evaporates quickly and doesn’t leave moisture behind.
This method is not suited for deep grease buildup — it works better as a finishing step or for surface-level stickiness.
You will need:
- 70% isopropyl alcohol
- Microfiber cloth or cotton rounds
- Toothpick or skewer (optional, for grooves)
Steps:
- Remove knobs from the stove and work in a ventilated area.
- Dampen a cloth or cotton round with isopropyl alcohol — do not soak the knob directly.
- Wipe down all surfaces of each knob, applying light pressure on sticky spots.
- Use a toothpick wrapped in a small piece of cloth to work alcohol into grooves and indicator lines.
- Allow knobs to air dry fully — typically only a few minutes.
- Reinstall once completely dry.
Work in a ventilated space and keep alcohol away from open flames or active burners. Do not use near a lit stove.
Reinstalling Stove Knobs Correctly
Once knobs are clean and completely dry, reinstallation is straightforward on most models.
- Align the knob’s internal fitting with the shaft — most have a flat edge or D-shaped profile that only fits one way.
- Press firmly and evenly until the knob seats fully on the shaft.
- Rotate the knob to confirm it moves smoothly through its full range.
- Wipe down the area around the knob shaft on the stove face before reinstalling, as buildup often collects there too.
Knobs that feel loose after reinstallation may have worn fittings. In that case, contact the appliance manufacturer for replacement parts rather than forcing them back on.
How Often to Clean Stove Knobs
Light cleaning every one to two weeks helps prevent grease from hardening into stubborn deposits. A quick wipe-down after heavy cooking sessions reduces the frequency of deeper cleaning. Knobs near front burners typically collect more residue than those positioned at the back of the stove.