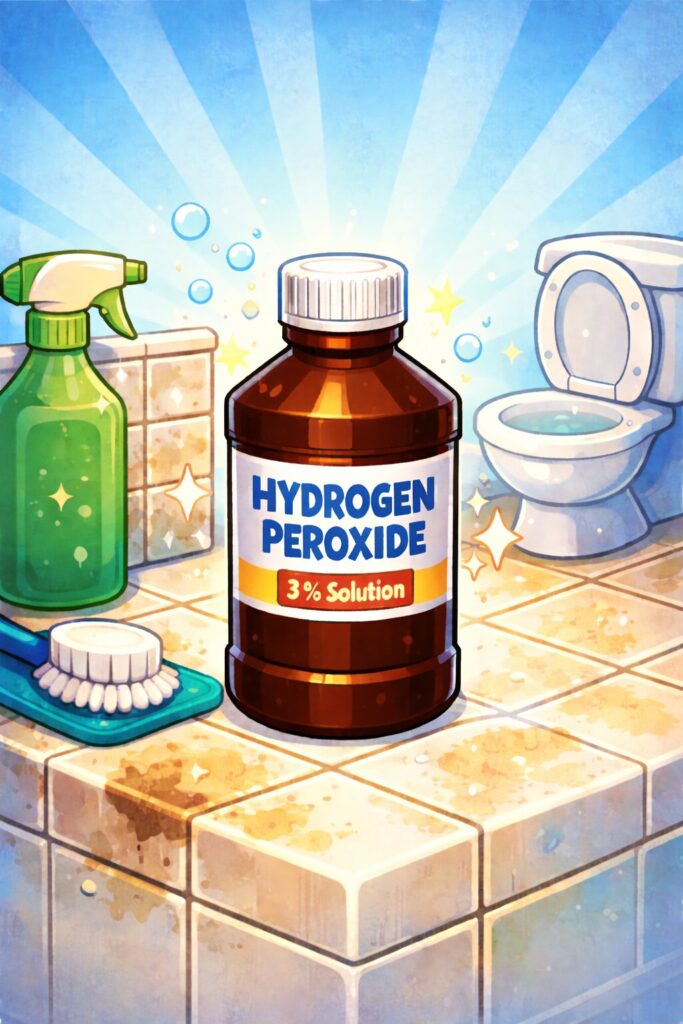
10 Uses of Hydrogen Peroxide for Cleaning Around the House
That small brown bottle in your medicine cabinet is doing a lot less work than it could be. Hydrogen peroxide — the standard 3% concentration sold at any pharmacy or grocery store — is one of the more underused cleaning supplies in most households. It disinfects surfaces, helps lift stains, and disrupts mold growth without leaving behind the kind of chemical residue that builds up over time in kitchens and bathrooms. When it breaks down, it converts to water and oxygen, which makes it a practical choice for areas where lingering cleaner contact is a concern.
Cleaning with hydrogen peroxide tends to work well anywhere organic buildup is the problem — grout lines, toilet bowls, cutting boards, refrigerator shelves. It won’t cut through heavy grease the way a degreasing dish soap can, but its oxidizing action gives it an edge on bacteria, staining, and early-stage mold that other general-purpose sprays often leave behind. It’s that combination of disinfection and stain-lifting in a single product that makes it worth keeping on hand.
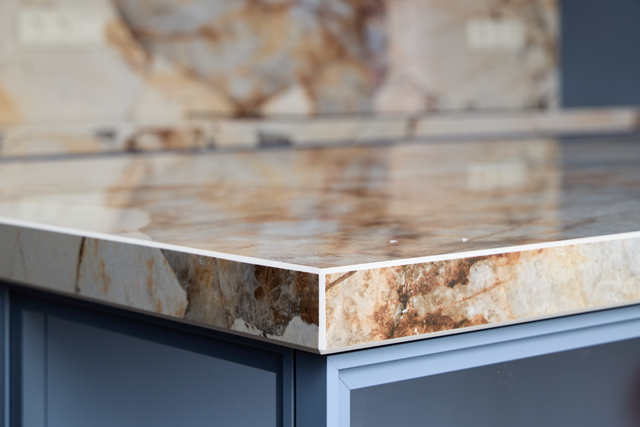
A few things to know going in: stick to 3% concentration for every method here, store the bottle away from heat and direct light, and spot-test any colored or delicate surface before applying. Peroxide-based cleaning works across a wide range of household materials, but copper, marble, natural stone, and darker dyed fabrics can all react poorly — so knowing where not to use it matters as much as knowing where it works.
- Standard 3% hydrogen peroxide is sufficient for every task here — higher concentrations aren’t more effective for home cleaning, just more hazardous to handle.
- Dwell time is what makes the method work. Wiping immediately after applying tends to be the main reason results are disappointing.
- Copper, marble, granite, dark-dyed fabrics, and rubber seals can all react poorly — know where not to use it before starting.
How to Use Hydrogen Peroxide for Cleaning at Home
Hydrogen peroxide releases oxygen when it contacts organic material — bacteria, mold, staining compounds — which is what makes it effective on surfaces that accumulate that kind of buildup. The methods below cover the cleaning jobs it handles reliably: porous grout, bathroom fixtures, kitchen surfaces, and household tools that tend to get overlooked. Standard 3% pharmaceutical-grade hydrogen peroxide is what every method here calls for, and you won’t need anything stronger.
How to Clean Grout with Hydrogen Peroxide
Grout is porous by nature, which means it traps soap residue, mildew, and mineral deposits in ways that standard tile spray often can’t fully reach. The peroxide has to get down into the grout structure itself to be effective — which is why dwell time is the most important part of this method.
Pour 3% hydrogen peroxide into a small spray bottle and apply it directly along the grout lines. Let it sit for 10 to 15 minutes, then scrub with a stiff-bristled grout brush, working in short back-and-forth strokes along each line. Rinse thoroughly with clean water.
Caution
Colored and epoxy grout need a hidden-spot test before any full application. Repeated peroxide use can gradually lighten pigmented grout in ways that are hard to notice until it’s uneven. This method is most reliable on white or light-colored cement-based grout.
Heavily stained grout may need a second application after the first round of scrubbing. Think of the first pass as loosening rather than removing — the second application tends to clear what the first one lifted.
Using Hydrogen Peroxide as a Toilet Bowl Cleaner
Mineral rings, bacterial films, and waterline discoloration build up in toilet bowls gradually, and routine scrubbing often just moves the surface layer around without addressing what’s underneath. Hydrogen peroxide can help loosen that buildup along the waterline without the thick residue that some commercial gels leave behind in the bowl and trap.
Pour about half a cup of 3% hydrogen peroxide directly into the bowl and let it sit for 20 to 30 minutes. The oxygen release during that time helps break down deposits along the waterline and under the rim. Follow up with a toilet brush, paying particular attention to the underside of the rim where buildup tends to concentrate. Flush to rinse.
For heavier mineral scale, a second application after the initial scrub typically improves results. This works well as a regular maintenance step — it’s less effective as a one-time fix for a bowl that’s been heavily neglected.
💡 Pro Tip
Keep a small spray bottle of 3% hydrogen peroxide in the bathroom cabinet and apply it under the rim once a week between full cleanings. It can help slow the rate at which mineral deposits and bacterial films accumulate, which makes your regular scrubbing sessions noticeably shorter.
Cleaning Cutting Boards with Hydrogen Peroxide
Cutting boards — wooden ones especially — accumulate bacteria in the small cuts and grooves that develop with use, particularly after contact with raw meat or poultry. Hydrogen peroxide is commonly used as a secondary sanitation step in food prep settings, applied after washing rather than instead of it.
Wash the board with dish soap and rinse it as normal first. Then spray or pour 3% hydrogen peroxide evenly across the entire surface. Don’t wipe it up right away — allow at least 5 minutes of dwell time for the peroxide to work on surface bacteria before rinsing with clean water. Let the board air dry completely.
For wooden boards, limit how often the surface gets fully soaked. Repeated saturation can dry out and eventually crack the wood grain. A light application that’s rinsed promptly does the job without the prolonged moisture exposure.
Also Read: How to Clean Plastic Cutting Boards With Hydrogen Peroxide
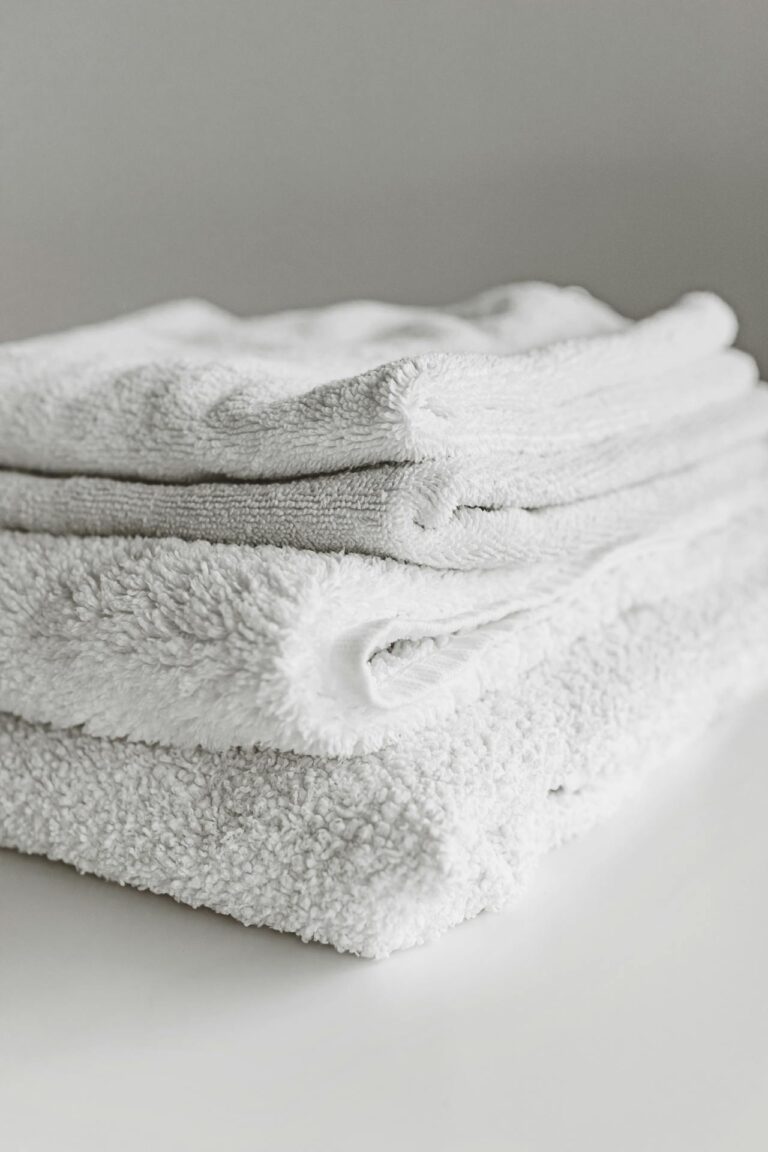
How to Use Hydrogen Peroxide to Remove Fabric Stains
Light-colored cotton fabrics develop stains from perspiration, blood, and certain residues that a standard detergent cycle often won’t fully clear on its own. Hydrogen peroxide can help break down protein-based stains when used as a pre-treatment before the item goes in the wash.
Apply a small amount of 3% hydrogen peroxide directly to the stain and let it sit for 5 to 10 minutes. Blot — don’t rub — with a clean cloth, then launder the item as normal.
⚠ Caution
Always test on a hidden section of the fabric first. Hydrogen peroxide can bleach darker or more saturated colors with even a single application. Avoid entirely on silk, wool, and acetate — peroxide can damage the fiber structure of these materials.
This method is most reliable on white and off-white cotton. It’s a pre-treatment step, not a standalone stain remover — the wash cycle does the follow-through.
Related Post: How to Remove Old Set-In Stains From Carpet With Hydrogen Peroxide
Cleaning a Shower Head with Hydrogen Peroxide
Mineral deposits and biofilm accumulate inside shower head nozzles over time, gradually restricting water flow and creating a surface where bacteria can establish. Hydrogen peroxide is well-suited for this kind of routine maintenance, particularly in homes with hard water.
Fill a plastic bag with undiluted 3% hydrogen peroxide and secure it tightly around the shower head with a rubber band, making sure the fixture head is fully submerged in the solution. Leave it for several hours — overnight tends to produce noticeably better results when buildup is heavier.
Remove the bag and run the shower at full pressure for a minute or two to flush out loosened deposits. For any scale still clinging to individual nozzle openings, a soft brush can clear the remainder. This method is generally safe on chrome and stainless finishes; check manufacturer guidelines for specialty-coated fixtures before soaking.
💡 Pro Tip
Doing this once a month in hard-water areas can help prevent the kind of heavy mineral scale that takes hours to break down. A 30-minute soak handles light buildup quickly; save the overnight soak for fixtures that have gone several months without attention.
Hydrogen Peroxide for Mold on Bathroom Caulk and Tile
Surface mold on bathroom caulk, tile, and wall surfaces near the shower develops as a result of persistent humidity, especially in bathrooms with limited ventilation. Hydrogen peroxide can address early-stage mold growth on non-porous surfaces reasonably well, though the dwell time tends to matter more here than in other applications.
Spray 3% hydrogen peroxide directly onto the affected area and leave it for at least 10 minutes without wiping. That contact time is what allows the peroxide to disrupt the mold structure at the surface level. After 10 minutes, scrub with a stiff brush or old toothbrush, then wipe clean with a damp cloth.
How to Disinfect a Kitchen Sink with Hydrogen Peroxide
Kitchen sinks handle a steady stream of food prep, dishwashing, and raw protein contact throughout the day — and they collect bacteria, grease film, and organic buildup even after routine washing. A hydrogen peroxide rinse after your regular cleaning adds a disinfection pass without leaving chemical residue on a surface that’s in constant contact with food and dishes.
Spray 3% hydrogen peroxide across the basin, faucet handles, and drain area after washing. Allow 5 minutes of contact time before rinsing with water. Pay particular attention to the drain collar and overflow channel — both stay damp between uses and tend to collect organic buildup faster than the rest of the sink.
Hydrogen peroxide is generally safe on stainless steel with routine use. It’s not a good choice for copper sinks, where repeated application can alter the patina and affect the finish over time.
Also Read: How to Clean Kitchen Counters With Hydrogen Peroxide
Cleaning Refrigerator Shelves with Hydrogen Peroxide
Refrigerator shelves accumulate spill residue, condensation, and food contact buildup that needs to be removed without leaving anything behind that could transfer to stored food. Hydrogen peroxide converts to water and oxygen as it dries, which makes it a practical choice for a surface where chemical residue is a genuine concern.
Remove the shelves and wipe off loose debris first. Spray 3% hydrogen peroxide across the surface and let it sit for 5 minutes, then wipe down with a clean cloth. Allow shelves to air dry fully before returning them to the refrigerator.
Sanitizing a Toilet Brush and Holder
Toilet brushes and their holders quietly accumulate bacteria and residue between every use, making them an ongoing contamination source in a room you’re actively trying to keep clean. It’s one of the easiest steps to skip, but cleaning these tools on a regular schedule makes a real difference.
Pour 3% hydrogen peroxide into the holder until it covers the lower portion of the bristles. Wear gloves. Let the brush soak for about 30 minutes, then rinse thoroughly with clean water. Wipe down the outside of the holder with a cloth dampened with hydrogen peroxide, and allow both pieces to air dry completely before reassembling.
Aim to do this roughly every two weeks for a brush that’s in regular use. A dirty brush used on a clean toilet undoes quite a bit of the work you’ve already done.
How to Clean a Garbage Disposal with Hydrogen Peroxide
Garbage disposals develop odor, slime buildup, and bacteria along the rubber splash guard and interior walls quickly — and most households clean the sink around the disposal without ever cleaning the disposal itself. Hydrogen peroxide can address interior buildup without the risk of damaging the grinding mechanism the way some heavy commercial disposal cleaners can.
Pour half a cup of 3% hydrogen peroxide directly into the disposal opening and let it sit for 10 minutes without running the water. That dwell time allows the peroxide to work on the bacterial film and organic residue coating the interior walls. After 10 minutes, run cold water and turn the disposal on for about 30 seconds to flush everything out.
Rinse thoroughly after scrubbing. Repeating this once a week tends to prevent the level of buildup that requires a longer treatment to clear.
Also Read: 5 Ways to Clean Humidifier Tanks With Hydrogen Peroxide
What to Know Before Using Hydrogen Peroxide to Clean
The 3% concentration sold at grocery stores and pharmacies is the appropriate choice for every household cleaning task. Higher concentrations are available commercially, but they’re not intended for home use and carry meaningful safety risks — stronger doesn’t mean better here.
Storage and shelf life: Store hydrogen peroxide in its original dark bottle, away from light and heat. Light exposure causes it to degrade into plain water, which renders it ineffective. Check the expiration date — an old bottle may not perform consistently even if the liquid looks unchanged.
What not to mix: Do not combine hydrogen peroxide with chlorine bleach. That reaction produces chlorine gas, which is hazardous in the enclosed spaces where most of these cleaning tasks happen.
Surface limitations:
- Avoid on copper, marble, granite, and natural stone — peroxide can discolor or etch these surfaces
- Avoid on dark-dyed fabrics and specialty finishes — test hidden areas on anything light-colored before proceeding
- Use sparingly on rubber gaskets and wooden surfaces — limit frequency rather than avoiding entirely
Hydrogen peroxide works well as a consistent part of a broader cleaning routine. It’s reliable on disinfection and stain treatment, but it won’t replace a degreaser or handle heavy soap scum buildup on its own. Used where it fits, though, it’s one of the more versatile things on the cleaning shelf.