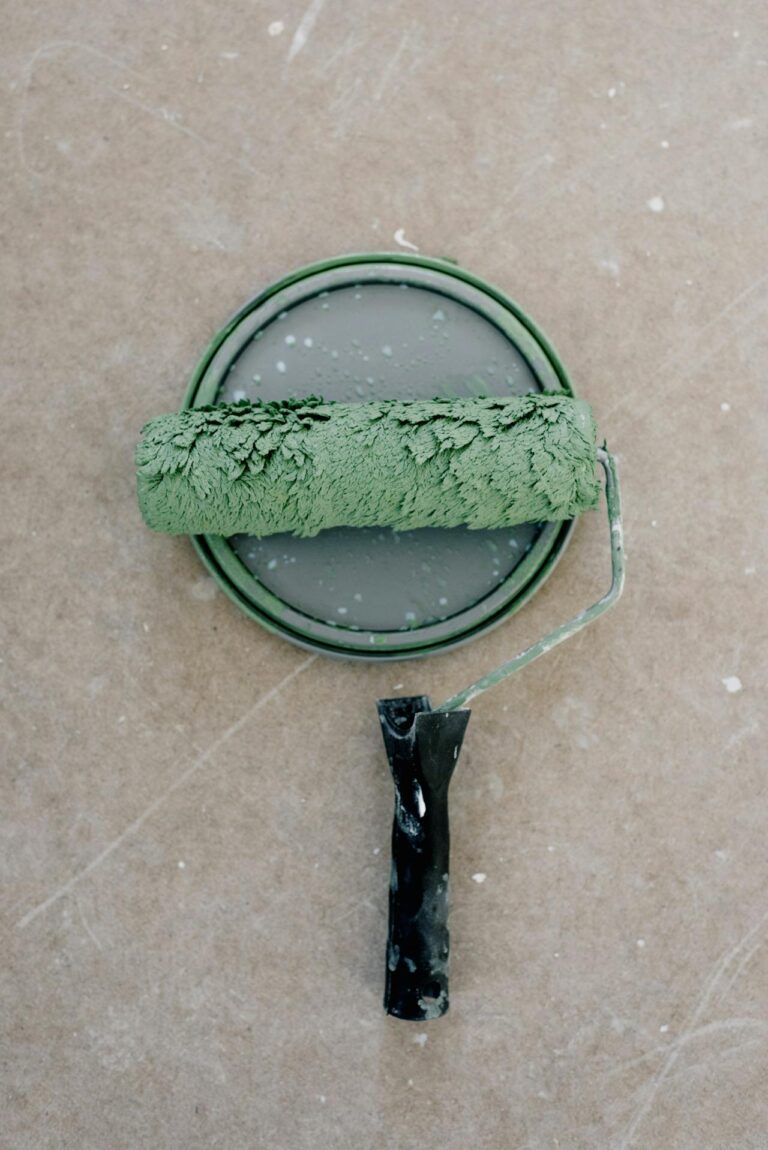
How to Clean Paint Rollers
Paint rollers hold significantly more paint than brushes, which means they also require more thorough cleaning. Latex paint cleans up with soap and water, while oil-based finishes need mineral spirits or paint thinner.
The cleaning method depends on the paint type and roller material. Natural fiber covers often require gentler handling than synthetic sleeves. Foam rollers typically don’t survive rigorous cleaning and are usually discarded after use.
The steps below explain how to clean paint rollers for both water-based and oil-based paints. Tools and materials vary based on the finish you’ve applied and whether you plan to reuse the roller immediately or store it long-term.
Tools and Materials
Essential Tools:
- 5-in-1 painter’s tool or putty knife
- Roller spinner (optional)
- Wire brush (for oil-based paint)
- Bucket or deep sink
- Rubber gloves
Materials:
- Dish soap
- Warm water
- Mineral spirits or paint thinner (for oil-based paint)
- Clean rags or paper towels
- Plastic wrap or aluminum foil (for short-term storage)
How to Clean Water-Based Paint from Rollers
Most interior wall paints use a latex or acrylic base that dissolves in water. These clean up more easily than oil-based finishes but still require proper technique to remove paint from deep within the roller nap.
Wear rubber gloves to keep your hands clean and make the washing process more comfortable.
Remove Excess Paint First
Removing wet paint before washing can save water and reduce the risk of clogs in your drain or septic system.
Essential tools:
- 5-in-1 tool or putty knife
- Paint can or cardboard
Steps:
- Hold the roller over the paint can or a piece of cardboard.
- Run the curved edge of a 5-in-1 tool along the roller sleeve from end to end.
- Apply firm pressure to squeeze paint back into the can.
- Rotate the roller and repeat until minimal paint comes off.
- Wipe the tool clean between passes.
Wash the Roller Sleeve
Warm water and dish soap break down latex paint effectively when applied with mechanical agitation.
What you will need:
- Bucket or utility sink
- Dish soap
- Warm water
- Roller spinner (optional)
Steps:
- Fill a bucket with warm water and add 2–3 drops of dish soap.
- Submerge the roller sleeve and work it back and forth with your hands.
- Squeeze and release the roller repeatedly to flush paint from the fibers.
- Drain the bucket when the water becomes saturated with paint.
- Refill with clean soapy water and repeat the process.
- Continue until the water runs clear when you squeeze the roller.
- Rinse the sleeve under running water to remove all soap residue.
If you’re using a roller spinner, hold it inside a bucket and pump the handle to force water through the nap. This typically speeds up the cleaning process.
Dry and Store the Clean Roller
Proper drying helps prevent mildew growth and maintain the roller’s shape.
What you will need:
- Clean rags or paper towels
- Wire hanger or drying rack (optional)
Steps:
- Squeeze excess water from the roller sleeve by hand.
- Roll it across clean rags or paper towels to absorb more moisture.
- Stand the roller upright on its end or hang it from a wire hanger.
- Allow it to air dry completely before storing, typically 12–24 hours.
- Store in a cool, dry location away from direct sunlight.
How to Clean Oil-Based Paint from Rollers
Oil-based paints, primers, and stains require solvent-based cleaners. These products are flammable and produce strong fumes.
Wear rubber gloves before handling mineral spirits or paint thinner. These solvents can irritate and dry out skin with prolonged contact. Work outdoors or in a well-ventilated area and keep these products away from open flames and pilot lights.
Remove Excess Paint and Apply Solvent
The same scraping technique used for latex paint applies here, followed by solvent washing instead of water.
Essential Tools:
- 5-in-1 tool
- Mineral spirits or paint thinner
- Bucket
- Rubber gloves
- Wire brush
Steps:
- Scrape excess paint from the roller using a 5-in-1 tool.
- Pour enough mineral spirits into a bucket to submerge the roller sleeve.
- Work the roller in the solvent for 2–3 minutes, squeezing repeatedly.
- Use a wire brush to work solvent into stubborn areas of the nap.
- Remove the roller and squeeze out the dirty solvent.
- Pour fresh solvent into the bucket and repeat the washing process.
- Continue until the solvent remains relatively clear after agitation.
Final Wash and Disposal
After solvent cleaning, a soap and water wash removes remaining paint particles and chemical residue.
Essential tools:
- Dish soap
- Warm water
- Bucket
Steps:
- Fill a bucket with warm soapy water.
- Wash the roller sleeve as described in the latex paint section.
- Rinse thoroughly under running water.
- Squeeze out excess water and allow the roller to dry completely.
- Pour used solvent into a sealed container labeled with the contents.
- Dispose of solvent according to local hazardous waste regulations.
Never pour mineral spirits or paint thinner down drains or into storm sewers.
Short-Term Storage Between Coats
Cleaning rollers between coats wastes time when you’re applying multiple layers in one day.
You will need:
- Plastic wrap or aluminum foil
- Plastic bag (optional)
Steps:
- Wrap the wet roller tightly in plastic wrap or aluminum foil.
- Press out air pockets to prevent the paint from skinning over.
- Place in a plastic bag for added protection.
- Store in a cool location away from direct sunlight.
- Use within 4–6 hours for water-based paint, 24 hours for oil-based.
If the paint has begun to dry when you unwrap the roller, clean it fully rather than applying fresh paint over partially dried material.

We hope you enjoyed this article on how to clean paint rollers. If you found these tips helpful, please share it with your friends on Facebook and Pinterest!