Kitchen Backsplash Covered in Cooking Residue? Here’s an Easy Wipe-Down Method
If your backsplash looks dull, streaky, or slightly yellow behind the stove, cooking residue is the culprit. Kitchen backsplash residue is a combination of airborne grease, steam, and spatter that bonds to the surface a little more with every meal. The longer it sits, the more effort it takes to remove.
The cleaning method that works on your backsplash depends on the material. Ceramic tile, glass, stainless steel, and natural stone each respond differently — both to the cleaning agent and the scrubbing pressure you can safely apply. Matching the method to the material is what separates a clean result from a damaged finish.
Here you’ll find the tools, the cleaning solutions, and step-by-step instructions for removing cooking residue from a kitchen backsplash — including adjustments for heavy buildup, grout lines, and surface-specific limitations.
Tools and Materials
Tools
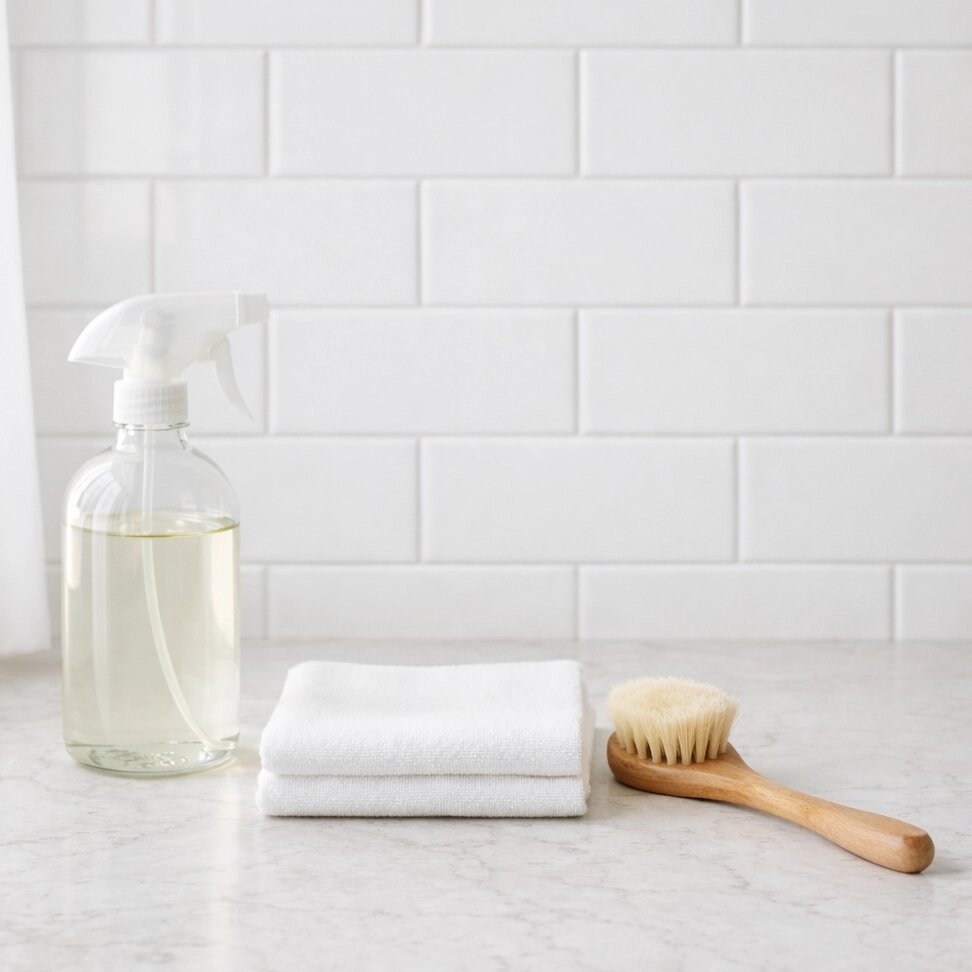
- Spray bottle
- Two microfiber cloths
- Soft-bristled brush or old toothbrush
- Non-scratch scrub pad
- Small bowl
Materials
- Dish soap (grease-cutting formula)
- White vinegar
- Warm water
- Baking soda
Optional
- Commercial degreaser labeled safe for tile or glass
- Rubber gloves
How to Clean Cooking Residue Off a Kitchen Backsplash
Before you grab a cleaner, identify your backsplash material. The method below works on ceramic tile, porcelain, and glass. Stone surfaces need a separate approach — covered further down. When you’re unsure, test your solution on a small hidden section and give it a few minutes before committing to the full surface.
Step 1: Mix Your Cleaning Solution
Combine 1 part white vinegar with 2 parts warm water in a spray bottle. Add 3 to 4 drops of dish soap and shake gently to mix. This solution handles light to moderate grease on non-porous surfaces without leaving residue behind.
For heavier buildup, mix 2 tablespoons of baking soda with enough dish soap to form a loose paste. Add a small splash of warm water if it’s too thick to spread. You’ll use this paste directly on the stained areas.
Step 2: Clear the Area and Apply the Solution
Move anything off the countertop below the backsplash — drips happen. Spray the surface evenly, working from the top of the backsplash down. Let the solution sit for 2 to 3 minutes. Don’t wipe it off immediately; the dwell time is what loosens the grease.
For the baking soda paste, apply it directly to discolored or sticky areas using a cloth or your fingers. Let it sit for 5 minutes. Don’t let it dry out completely before you scrub.
Step 3: Wipe or Scrub
For the spray solution, wipe with a microfiber cloth using horizontal strokes and light pressure. Work in sections. Re-spray any spots that don’t lift and let sit for another 2 minutes before wiping again.
For the baking soda paste, use a non-scratch scrub pad in small circular motions. Work one section at a time. Do not use steel wool or abrasive scrubbers on glazed tile, glass, or any coated surface — the scratches are permanent.
Rinse the cloth or pad frequently so you’re not spreading grease around.
Step 4: Rinse and Dry
Wipe down the entire surface with a clean damp cloth to remove any soap or paste residue. Follow immediately with a dry microfiber cloth. Buff the surface dry — especially on glass tile, where moisture left behind turns into water spots that are harder to remove than the original residue.
Pro tip: On stainless steel backsplashes, always wipe in the direction of the grain. Wiping against it leaves visible scratch marks even with a soft cloth.
How to Clean Grout Lines with Trapped Residue
Grout holds grease differently than the tile face does. It’s porous, so residue soaks in rather than sitting on the surface. Darkened or discolored grout lines need a targeted approach, not just the same wipe-down you’d use on the tile.
- Apply baking soda paste directly into the grout lines using a toothbrush.
- Let it sit for 5 to 8 minutes.
- Scrub along the line with short firm strokes. Work in one direction rather than scrubbing back and forth.
- Wipe away the paste with a damp cloth. Rinse the cloth and repeat until no paste residue remains in the lines.
- Let the grout dry fully before checking results.
Do not use vinegar-based solutions on natural stone grout or unsealed grout. The acidity breaks down the material over time, and the damage accumulates with each cleaning.
If grout discoloration doesn’t lift after two rounds of this, a dedicated grout cleaner may be needed. Severe staining that goes deep into porous grout sometimes can’t be cleaned out — regrouting becomes the practical fix at that point.
Cleaning Backsplash Residue by Surface Type
The steps above apply to ceramic, porcelain, and glass. Other materials need specific handling.
Ceramic and porcelain tile: Tolerates the vinegar-water spray and baking soda paste. Avoid leaving acidic cleaners in prolonged contact with unglazed tile.
Glass tile: Use the vinegar-water spray. Buff dry immediately after wiping — glass shows watermarks fast.
Stainless steel: Dish soap and warm water only. Wipe with the grain. No abrasive pads, no vinegar — both can leave marks on the finish.
Natural stone — marble, travertine, slate: Do not use vinegar or any acid-based cleaner. Acidic solutions etch stone surfaces, and the damage is not reversible. Use pH-neutral dish soap with warm water only, and dry the surface after cleaning.
Painted or wallpapered backsplash: Test any solution in a hidden spot first. Use minimal moisture and dry the area immediately after wiping.
How Often to Clean
Wipe the backsplash down after cooking — or at minimum once a week as part of your kitchen cleaning routine. The area directly behind the stove accumulates grease faster than anywhere else, particularly at high heat or when cooking with oil. Catching residue early means a quick wipe. Letting it go for a month means paste, scrubbing, and multiple passes.