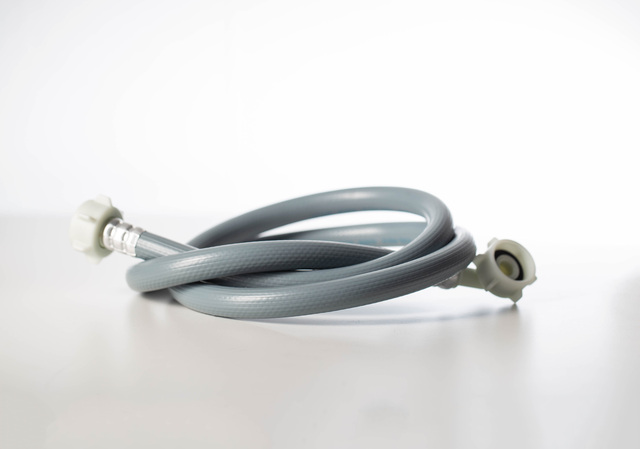
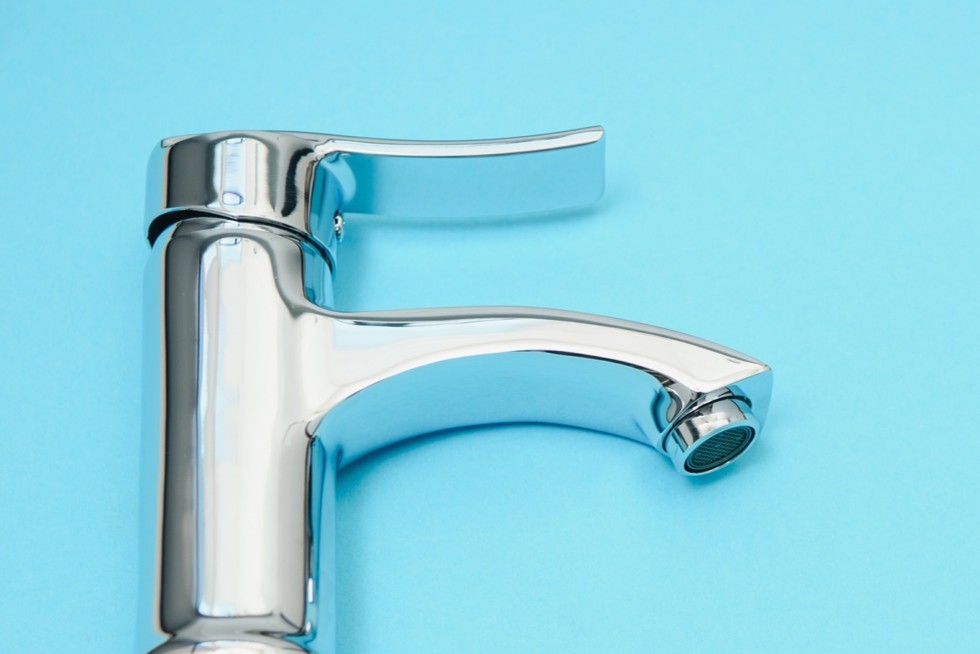
How to Clean a Faucet Aerator
A faucet aerator mixes air into the water stream to reduce splashing and conserve water. Over time, mineral deposits, sediment, and debris clog the fine mesh screen inside the aerator, reducing water pressure and causing uneven flow.
Methods to clean a faucet aerator depend on the aerator design, the severity of buildup, and whether the aerator can be removed by hand or requires a wrench. Some aerators unscrew counterclockwise from the outside of the spout, while others are cache aerators that require removal of an outer housing first.
The steps below cover how to remove, disassemble, and clean faucet aerator components, then reassemble the unit. Variations for cache aerators and heavily calcified parts are included.
What You’ll Need
Tools:
- Adjustable pliers or channel locks
- Old toothbrush or small stiff brush
- Small bowl or container
- Cloth or rubber jar opener (for grip)
- Needle or paper clip (for clogged holes)
Materials:
- Lime remover (CLR, Lime-A-Way, or similar descaling product)
- Dish soap
- Clean towel
Optional:
- Replacement aerator (if threads are damaged)
Remove and Disassemble the Aerator
Most aerators thread onto the end of the faucet spout and can be removed by hand or with pliers. Cache aerators sit inside the spout and require a different approach.
Standard External Aerators
Standard aerators screw onto the outside of the spout threads. They often have flats molded into the housing for wrench or plier use.
You will need: Cloth or rubber grip, adjustable pliers
- Grip the aerator housing with your hand and turn counterclockwise. If it’s tight, wrap a cloth around it for better grip and to protect the finish.
- If hand removal fails, use adjustable pliers. Wrap the aerator with a cloth first to help prevent scratching, then turn counterclockwise.
- Once removed, set the aerator on a clean towel with the screen side up. Note the order of internal parts—most aerators contain a flow restrictor, mixer, screen, and washer stacked in a specific sequence.
- Unscrew or pull apart the aerator housing to access the internal components. Some models snap apart; others have a threaded outer sleeve.
- Lay the components in removal order on the towel. Taking a photo helps with reassembly.
Cache Aerators
Cache aerators fit inside the spout rather than threading onto it. The visible portion is a decorative cap.
You will need: Needle-nose pliers or aerator key (if provided with faucet)
- Look inside the spout opening. Cache aerators have a small slot or notch on the outer edge.
- Insert needle-nose pliers or an aerator key into the slots and turn counterclockwise.
- Pull the aerator assembly out of the spout. Some models include a plastic housing that must be removed before accessing the screen.
- Disassemble the internal parts and arrange them in order.
How to Clean Faucet Aerator Parts
Mineral deposits bond to metal and plastic over time. Chemical descalers dissolve calcium and lime buildup. Mechanical scrubbing removes sediment and rust particles.
Light to Moderate Buildup
Use this approach when water flow is reduced but not completely blocked.
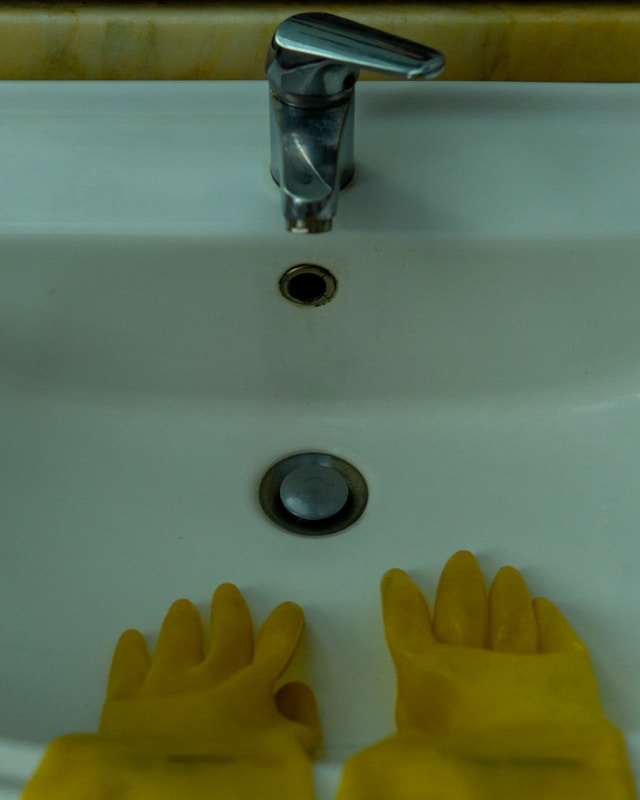
You will need: Lime remover, small bowl, toothbrush, dish soap, protective gloves
- Wear gloves when handling lime remover. Follow product dilution instructions on the label. Some products can be used full-strength; others require dilution with water.
- Fill a small bowl with the lime remover solution. Submerge all metal and plastic aerator parts.
- Soak for the time specified on the product label. This is typically 5 to 15 minutes for light buildup. Check the product instructions, as longer exposure can damage certain finishes or plastics.
- Remove the parts and scrub the screen with an old toothbrush. Work from both sides to dislodge trapped particles.
- Scrub the mixer and flow restrictor components. Pay attention to small holes where deposits collect.
- Rinse all parts under running water for at least 30 seconds to remove all chemical residue. Hold the screen up to light to check for clear openings. If holes remain blocked, use a needle or paper clip to clear them individually.
- Wash parts with dish soap and rinse thoroughly.
Heavy Calcification or Hard Water Deposits
When a short soak doesn’t dissolve deposits, extend the treatment time or use a stronger concentration. This applies to areas with very hard water or aerators that haven’t been cleaned in several years.
You will need: Lime remover, protective gloves, small bowl, stiff brush
- Wear gloves when handling lime remover. Use in a ventilated area if the product label recommends it.
- Submerge aerator parts in undiluted lime remover if the product allows. Check the label for maximum soak times—some products can damage metal or plastic if left too long.
- Soak for 15 to 30 minutes, checking progress every 10 minutes. Calcium buildup should soften and begin to flake off.
- Remove parts and scrub with a stiff brush. Heavy deposits may require additional scrubbing as the chemical loosens the mineral layer.
- Rinse parts thoroughly under running water for at least one minute to remove all chemical residue.
- If deposits remain in screen holes, use a needle to clear each opening individually.
- Wash with dish soap and rinse again.
Reassemble and Reinstall the Aerator
Incorrect reassembly can cause leaks or uneven water flow. The order of internal components matters.
You will need: Clean towel, reassembled aerator parts
- Dry all components with a clean towel. Moisture can interfere with threading.
- Reassemble the aerator in reverse order of disassembly. The typical sequence from spout end inward is: washer, screen (with fine mesh facing up toward the faucet), mixer, flow restrictor, outer housing.
- Check that the rubber washer is seated properly in the aerator housing. A displaced washer causes leaks.
- For external aerators, thread the assembly onto the spout by hand, turning clockwise. Tighten until snug but not overly tight. Metal-on-metal threads can bind if forced.
- For cache aerators, align the notches or slots and press the assembly into the spout. Turn clockwise with pliers or the aerator key until secure.
- Turn on the faucet and check for leaks around the aerator connection. If water seeps from the threads, remove the aerator and inspect the washer. Replace the washer if it’s cracked or compressed.
- Observe the water stream. It should flow evenly without spraying to one side. If the flow is crooked, remove the aerator and check that the screen and mixer are correctly oriented.
How Often to Clean Faucet Aerators
Cleaning frequency depends on water hardness and sediment levels. In areas with hard water, clean faucet aerators every three to six months to help prevent heavy mineral buildup. In areas with soft water or municipal treatment systems, annual cleaning is typically sufficient.
If water pressure drops suddenly or the stream sprays unevenly, clean the aerator regardless of the last cleaning date. Sediment from pipe work or water heater maintenance can clog screens quickly.
When to Replace Instead of Clean
Cleaning restores function in most cases, but some conditions require replacement. Aerator threads that are stripped or cross-threaded won’t seal properly, even with a new washer. Screens with tears or punctures can’t be repaired and will allow sediment to pass through.
Replacement aerators are available at hardware stores and typically cost $3 to $10. Bring the old aerator to match thread size and flow rate. Standard sizes are 15/16-inch male, 55/64-inch female, and 13/16-inch female, but thread pitch and aerator style vary by faucet manufacturer.
If the faucet spout threads are damaged, cleaning or replacing the aerator likely won’t solve the leak. Spout replacement or faucet replacement may be necessary.
We hope you enjoyed this step-by-step guide on how to clean a faucet aerator and restore water pressure. If you found it helpful, please share it with your friends on Facebook and Pinterest!