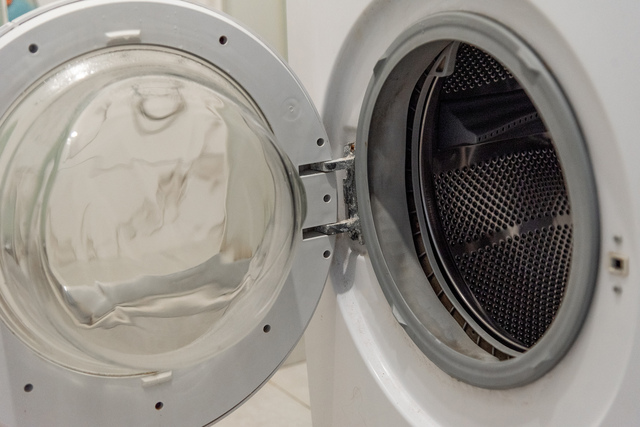
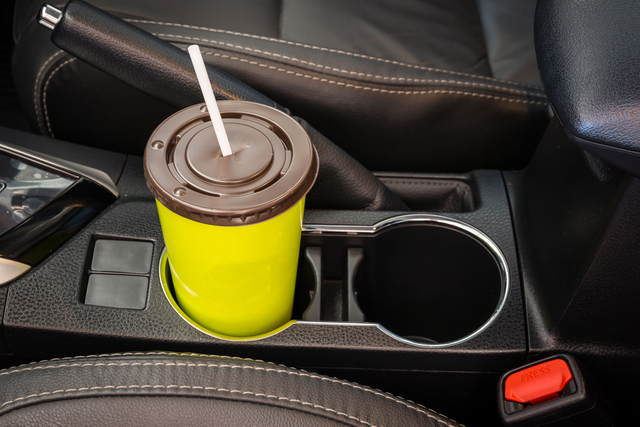
6 Steps to Disinfect Car Cup Holders
Cup holders tend to collect residue from beverages, condensation, and everyday contact. That combination of moisture and organic material creates conditions where bacteria and mold can develop over time. Disinfecting car cup holders removes that buildup and reduces microbial load on a surface that gets touched repeatedly.
The approach varies depending on cup holder material. Rubber-lined inserts, bare plastic, and fabric-trimmed consoles each respond differently to cleaning agents and moisture. Using the wrong product or too much liquid can damage finishes or leave residue behind.
The steps below cover how to disinfect car cup holders in a standard center console, including how to handle removable inserts, stubborn residue, and tight corners. Tools, materials, and surface-specific adjustments are included.
Tools and Materials
Tools
- Microfiber cloths (2–3)
- Cotton swabs or a detailing brush
- Small flathead screwdriver (optional, for prying inserts)
- Vacuum with a narrow attachment
Materials
- Disinfecting wipes (isopropyl alcohol-based, 70% concentration)
- Isopropyl alcohol (70%) in a spray bottle
- Mild dish soap
- Warm water
- Compressed air can (optional)
Optional
- Silicone cup holder liners (for easier maintenance after cleaning)
How to Disinfect Car Cup Holders in 6 Steps
Disinfecting cup holders involves more than wiping the visible surface. Residue tends to collect at the base and along the seam where the cup holder meets the console. These steps address the full interior, including hard-to-reach areas.
This method applies to plastic and rubber cup holders. Fabric or suede-trimmed consoles require extra caution around moisture and alcohol content. Test any product on a small, hidden area first if the material is unclear.
Step 1: Remove Loose Debris
You will need:
- Vacuum with narrow attachment
- Compressed air (optional)
- Remove any cups, coins, or loose items from the cup holder.
- Use the vacuum attachment to pull out crumbs, dust, and dry debris from the base.
- If debris is lodged in the seam, use a short burst of compressed air to dislodge it before vacuuming again.
Dry vacuuming first prevents debris from turning into a paste when liquid is introduced later.
Step 2: Remove Inserts If Possible
Many cup holders have rubber or plastic inserts that lift out or unscrew for cleaning. Removing them gives full access to the base and walls.
You will need:
- Small flathead screwdriver (if needed)
- Mild dish soap
- Warm water
- Check whether the insert lifts straight out or requires a slight twist to release.
- If it resists, use a flathead screwdriver wrapped in a cloth to gently pry the edge. Avoid using metal directly on plastic — it can scratch or crack the surface.
- Wash removable inserts with warm water and a small drop of dish soap.
- Rinse thoroughly and allow to air dry completely before reinserting.
Wet inserts placed back into the console can trap moisture and encourage mold growth underneath.
Step 3: Wipe Down Interior Walls and Base
This step removes surface grime and prepares the cup holder for disinfection. Disinfectants work more effectively on surfaces that are visibly clean.
You will need:
- Microfiber cloth
- Warm water
- Mild dish soap
- Dampen a microfiber cloth with warm water. Add a small drop of dish soap if the surface is visibly sticky or stained.
- Wipe the interior walls from top to bottom, then clean the base.
- Follow with a second damp cloth (water only) to remove any soap residue.
- Allow the surface to dry for a few minutes before applying disinfectant.
Applying disinfectant over soap residue can reduce its effectiveness. Let the surface dry between steps.
Step 4: Disinfect the Cup Holder Surface
Disinfecting requires contact time — the surface needs to remain visibly wet with the disinfecting agent for a specified period. Isopropyl alcohol-based wipes typically require 30 seconds to 1 minute of dwell time, though this varies by product and formulation.
You will need:
- Disinfecting wipes (70% isopropyl alcohol) or isopropyl alcohol in a spray bottle
- Clean microfiber cloth
- Use a disinfecting wipe to coat the interior walls and base. Apply with enough pressure to reach the seams.
- If using a spray bottle, lightly mist the surface and spread with a microfiber cloth.
- Allow the surface to remain wet for at least 30 seconds. Do not wipe dry immediately.
- After the dwell time, allow it to air dry or wipe gently with a dry cloth.
Do not use bleach-based wipes on car interiors. Bleach can discolor plastic, degrade rubber, and damage trim finishes over time.
Also Read: 8 Ways to Disinfect Kitchen Sinks With Isopropyl Alcohol
Step 5: Clean Tight Corners and Seams
The seam at the base of the cup holder and the small gap between the insert housing and the console are common areas where residue accumulates. Standard wipes typically cannot reach these spots.
You will need:
- Cotton swabs
- Detailing brush
- Isopropyl alcohol (70%)
- Dip a cotton swab in isopropyl alcohol and run it along the bottom seam of the cup holder.
- Use a detailing brush dipped lightly in isopropyl alcohol to scrub any textured surfaces or grooves.
- Follow with a dry cotton swab to absorb loosened residue.
- Repeat on the second cup holder if applicable.
Replace the cotton swab as it picks up residue. Using a saturated swab past its capacity can spread material rather than remove it.
Step 6: Dry Completely and Reinsert Components
Moisture left in the cup holder after cleaning can create conditions for mold or mildew, particularly in vehicles parked in warm or humid environments.
You will need:
- Dry microfiber cloth
- Dry rubber or plastic inserts (from Step 2)
- Wipe the interior with a dry microfiber cloth to remove any remaining moisture.
- Leave the cup holder open and allow air circulation for 10–15 minutes before reinserting any components.
- Once the insert is fully dry, press it back into place until it seats evenly.
- Optionally, place a silicone cup holder liner inside to catch future spills and simplify future cleaning.
How Often to Clean Cup Holders
Cleaning frequency depends on use. Cup holders that regularly hold beverages — particularly sugary drinks or coffee — accumulate residue faster than those used mainly for dry items.
- Light use: Wipe down monthly with a disinfecting wipe as part of routine interior cleaning.
- Regular beverage use: Clean and disinfect every two to three weeks.
- After a spill: Clean as soon as possible. Sugary liquids left to dry become significantly harder to remove and can attract bacteria more quickly.
Silicone liners reduce how often a full cleaning is necessary. They lift out easily and can be washed in warm soapy water between uses.
Depending on the age and condition of the cup holder material, some staining may remain after disinfection. Disinfecting reduces microbial buildup — it does not typically restore the appearance of stained or pitted plastic. For persistent staining, a plastic-safe interior cleaner applied separately before the disinfection steps may improve results.