8 Things to Clean on Small Kitchen Appliances
Small kitchen appliances can collect crumbs, spills, and buildup pretty quickly. Regular cleaning keeps them working smoothly and looking decent. These simple maintenance tasks use basic supplies you probably already have and don’t take much time.
Most of these tasks take just a few minutes once you get started.
Why Small Appliances Need Regular Cleaning
Food particles and grease can build up on appliances over time. This buildup might affect how well they work.
Regular cleaning can help appliances stay in good condition. It also keeps your kitchen feeling a bit fresher overall.
When you clean appliances regularly, you might notice small issues before they become bigger problems.
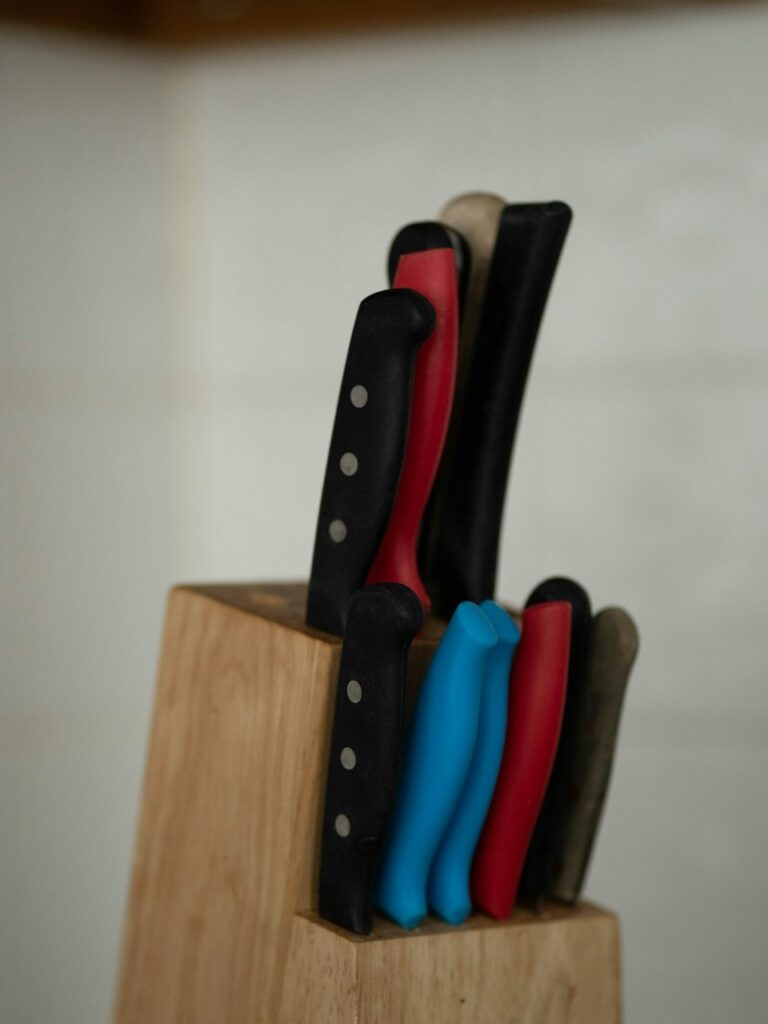
1. Toaster Crumb Tray
The crumb tray at the bottom of your toaster catches the bread bits. Slide it out and empty the crumbs.
Wipe the tray with a damp cloth to remove stuck-on residue. Most trays slide back in easily once they’re dry.
Check this tray every week or two if you use your toaster regularly. It tends to fill up faster than you might expect.
Some toasters have trays that pop out from the side or bottom. Look for a small release tab or handle if you’re not sure where yours is.
2. Coffee Maker Water Reservoir
The water reservoir can develop mineral deposits from tap water. Empty any leftover water after each use.
Once a month, fill the reservoir with equal parts white vinegar and water. Run a brewing cycle without coffee grounds.
Follow up with two cycles of plain water to rinse out the vinegar taste. This helps remove buildup that can affect the flavor of your coffee.
If your water is particularly hard, you might need to do this more often. You’ll notice if your coffee starts tasting a bit off.
3. Blender Blade Assembly
Food can get stuck around the blender blades after use. Fill the blender halfway with warm water and add a drop of dish soap.
Blend on low for 30 seconds to help clean the blades. Rinse thoroughly and let it air dry.
You can also remove the blade assembly if your model allows it. Just be careful handling the sharp edges.
Some blenders have gaskets or seals that need attention too. Check these areas for any trapped food or buildup.
4. Microwave Interior Walls
Splatters and dried food tend to stick to microwave walls. Fill a microwave-safe bowl with water and a few slices of lemon.
Heat it on high for 3 minutes until the water steams. The steam can help loosen stuck-on food.
Wipe down the walls with a damp cloth while they’re still warm. The grime usually comes off more easily this way.
Don’t forget the ceiling and door of the microwave. These spots can collect just as much buildup as the walls.
5. Toaster Oven Crumb Tray and Racks
The crumb tray catches drips and crumbs during cooking. Pull it out and shake off loose debris.
Wash the tray with warm soapy water and a soft sponge. The racks can be cleaned the same way if they’ve gotten greasy.
Let everything dry completely before putting it back. This prevents rust and keeps things working smoothly.
If your racks are really grimy, let them soak in the sink for 10 minutes first. This can make scrubbing easier.
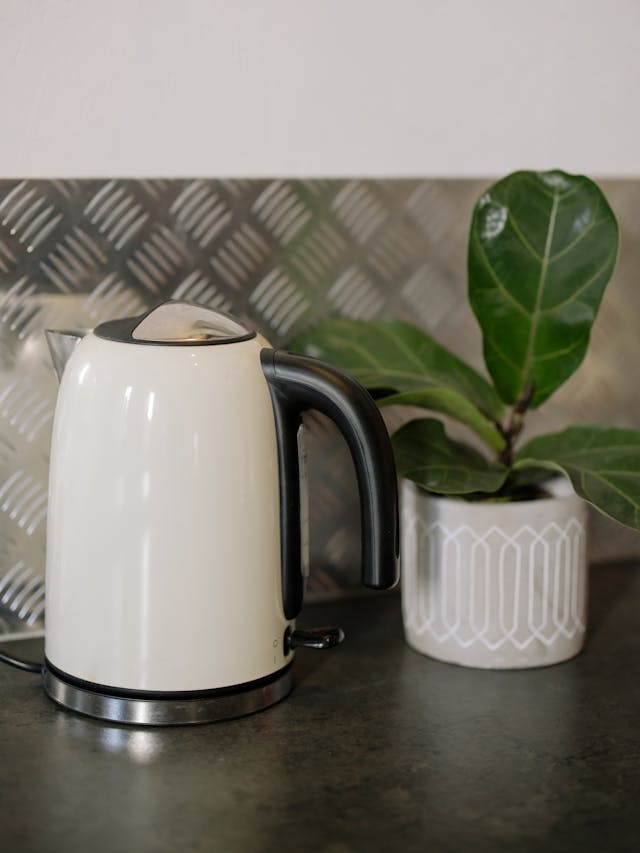
6. Electric Kettle Interior
Mineral deposits can form inside electric kettles over time. Mix equal parts water and white vinegar in the kettle.
Boil the mixture and let it sit for about 20 minutes. Pour it out and rinse the kettle several times with fresh water.
This cleaning method works for most kettles. Just check your manual first to make sure vinegar is safe for your model.
You might see white or cloudy buildup inside if you have hard water. Regular cleaning can help prevent thick deposits from forming.
7. Food Processor Bowl and Lid
Food residue can stick to the bowl and lid seams. Take apart all removable pieces after each use.
Wash them in warm soapy water, paying attention to the rim and lid grooves. A small brush can help get into tight spots.
Dry all parts thoroughly before reassembling. Moisture in the seams can lead to odors over time.
The feed tube often gets overlooked but can trap food particles. Give it a quick scrub along with the other parts.
8. Stand Mixer Attachments
Beaters and dough hooks can have dried batter stuck in crevices. Soak the attachments in warm water for a few minutes first.
Wash them with dish soap and a soft cloth or sponge. Pay attention to where the attachment connects to the mixer.
Most attachments are dishwasher safe, but hand washing can help them last longer. Check your manual if you’re not sure.
The attachment shaft sometimes collects flour or sugar. A damp cloth wrapped around it can clean these spots pretty well.
What to Avoid When Cleaning Small Appliances
Skip abrasive scrubbers that might scratch surfaces. Harsh chemicals can damage plastic parts and leave strong odors.
Don’t submerge the base of electric appliances in water. This can damage the electrical components inside.
Avoid using too much water near cords and outlets. Let appliances dry completely before plugging them back in.
Steel wool or rough scouring pads can scratch stainless steel and chrome finishes. Stick with soft cloths and gentle sponges for most surfaces.
Questions & Answers
How often should you clean small kitchen appliances?
It depends on how often you use them. Wipe down exteriors weekly if you use an appliance daily.
Deep clean things like coffee makers and toasters once a month. Appliances you use less often can be cleaned every few months.
You might need to clean small kitchen appliances more frequently if you cook a lot. Trust what you see and adjust as needed.
Can you clean small appliances with vinegar?
White vinegar is safe for most small kitchen appliances. It can help remove mineral deposits and mild odors.
Mix it with equal parts water for coffee makers and kettles. Always rinse thoroughly afterward to remove the vinegar smell.
Some appliance manuals recommend against vinegar, so check yours first. Most standard models handle it fine though.
How do you clean sticky residue on kitchen appliances?
Try rubbing the sticky spot with a bit of cooking oil on a cloth. This can help break down the adhesive.
Wipe away the oil with soapy water afterward. For stubborn spots, a paste of baking soda and water might help.
Let the paste sit on the residue for a few minutes before wiping. This gives it time to work on the sticky area.
Should you unplug appliances before cleaning them?
Yes, unplug appliances before cleaning for safety. This prevents accidental starts and keeps you safe from electrical issues.
Wait for heated appliances to cool down completely first. This protects both you and the appliance.
Some people skip this step for quick wipe-downs. It’s still safer to unplug even for basic cleaning though.
Can small appliance parts go in the dishwasher?
Check your appliance manual first. Some removable parts are dishwasher safe, while others aren’t.
Hand washing tends to be gentler on most parts. It can help plastic components last longer without getting cloudy.
The top rack is usually safer for dishwasher-safe items. Heat from the bottom rack can sometimes warp plastic parts.
Conclusion
Keeping small kitchen appliances clean doesn’t require special products or a lot of time. These basic maintenance tasks can help your appliances work better for longer.